
A useful digital QR menu helps guests answer three questions: what can I order, what is in the dish and how much will it cost? Good presentation matters, but it should make choosing easier. Organise the menu first, then choose the photographs and colours.
A QR menu is simply a menu on a phone. Guests point their camera at the square code on the table, tap the link that appears and see dishes and prices. You edit it in the management panel: the place where you manage your menu.
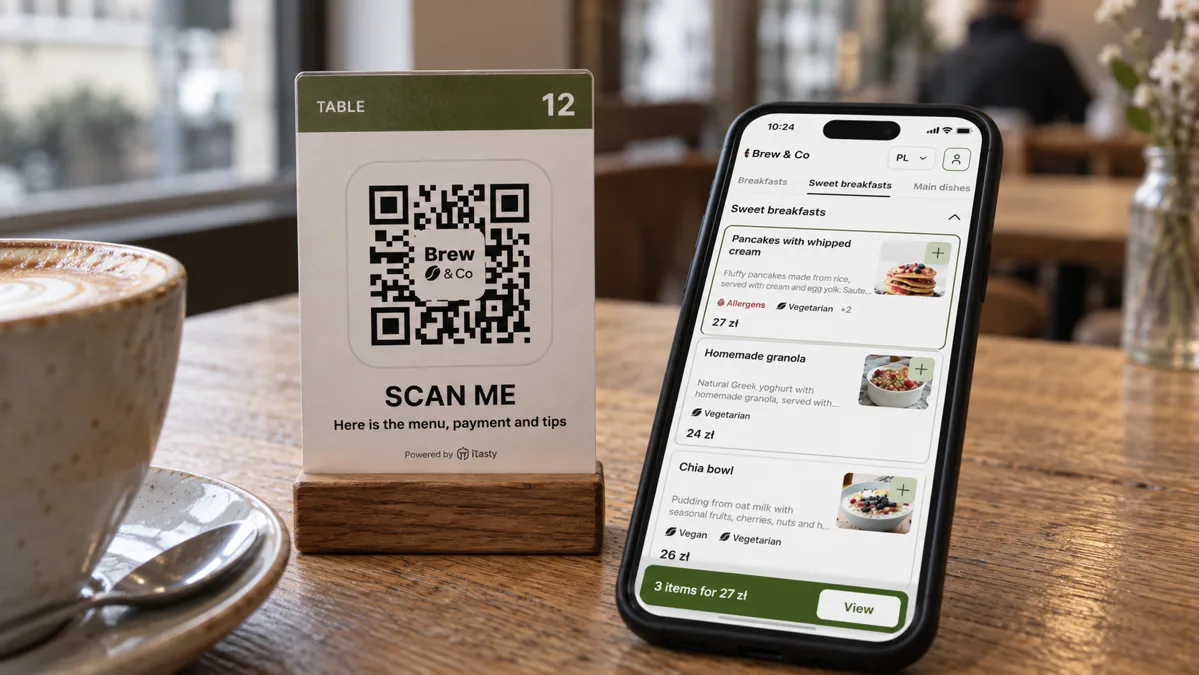
Here is a practical preparation plan for a restaurant, café or bar, from gathering the content to testing the printed code at a table.
1. Gather an up-to-date menu in one place
List each item with its name, price, portion size or drink volume and a short description. Check the information with the kitchen and the person responsible for pricing. Separate seasonal items from the regular offering and remove dishes you no longer serve.
Decide who updates the menu when a recipe, price or availability changes. A QR code does not keep information current on its own: it simply links to a page that someone on your team needs to maintain.
2. Organise categories around how guests order
Replace a long, unstructured list with familiar groups such as breakfast, mains, desserts and drinks. A pizzeria might use pizza, extras and drinks; a café might separate coffee, other drinks and baked goods. Build the structure around your actual offering.
Avoid creating a category for every item. Guests should understand category names without an explanation from a server. If you display a lunch offer, put its available days and hours beside it.
3. Write short descriptions that explain the differences
Chef’s pasta
Tagliatelle with roasted tomatoes, ricotta and basil
“Chef’s pasta” tells a guest less than “Tagliatelle with roasted tomatoes, ricotta and basil”. Name the main ingredients, preparation method and the feature that distinguishes a dish from similar choices. Make prices and paid extras easy to find instead of hiding them in a paragraph.
4. Use photographs of the food you serve
Start with a few representative dishes. Use similar lighting and framing, and show the portion a guest will actually receive. An illustrative image should not be presented as a photograph of food from your kitchen.
Resize images to what the page needs before uploading them. Large camera originals can add unnecessary weight. Keep dish names, descriptions and prices available as text even if an image fails to load. The W3C accessible images tutorial explains how to provide appropriate text alternatives.
5. Check readability on a phone
Open the menu on a small screen. Can you read names and prices without zooming? Does text stand out against its background? Can you return to the categories easily? Avoid providing the entire menu only as a photograph or a scanned PDF that requires constant panning.
Test larger text settings and longer dish names too. For additional languages, translate categories, ingredients and descriptions, then review them in context. A literal translation of a regional dish name may still leave guests unsure what they will receive.
6. Put the QR code where guests can find it
Add a short instruction such as “Scan to view the menu” and a readable web address as an alternative. Leave clear space around the code and test the printed version under your venue’s lighting. Reflections or a fold in the stand can make scanning difficult.
The code should open the correct menu directly. After changing the destination address, check existing printed codes as well. Keep a way for staff to provide the menu to guests without a phone or an internet connection.
Your QR menu launch checklist
- Scan the printed code on Android and iOS phones.
- Open the page over mobile data as well as the venue’s Wi-Fi.
- Compare a selection of prices and descriptions with the kitchen’s current menu.
- Check categories, languages and navigation back to the menu.
- Ask someone outside the team to find a particular dish.
- Assign responsibility for updates and schedule the next review.
Getting started with iTasty
Explore iTasty’s QR menu and pricing. Before choosing a plan, compare the number of venues, menu item limits and the help you need. A menu for browsing and an ordering flow with payment have different implementation requirements. Decide which you need first.
To discuss the structure of your own menu, book an iTasty demo and bring your current menu. That gives the conversation a concrete starting point: your categories, content and service workflow.